A well-crafted greeting card portfolio tells people you care about design, detail, and the small moments that shape personal connection. Many creators start at their kitchen table, sketchbook off to one side, stacks of test prints on the other.
It feels quiet, personal, and surprisingly technical. A strong portfolio reflects that mix. It shows range, theme consistency, and a level of care that signals you treat card design as a serious craft.
Working from home gives you the freedom to experiment at your own pace. You can build pages slowly, learn your tools as you go, and shape a style that actually feels like you. What helps most is a structured plan that breaks the work into manageable steps.
The goal is a polished body of cards you can show to clients, publishers, small shops, or art directors with confidence.
Here’s a full guide that walks you through each stage, from early ideas to final presentation.
Build Your Creative Foundation
A greeting card portfolio grows from a clear sense of direction. Before opening your design software or pulling out cardstock, spend time forming the base. Begin by visiting the card generator from Adobe Express so you can experiment with layout, colour, and typography.
Define Your Purpose and Category
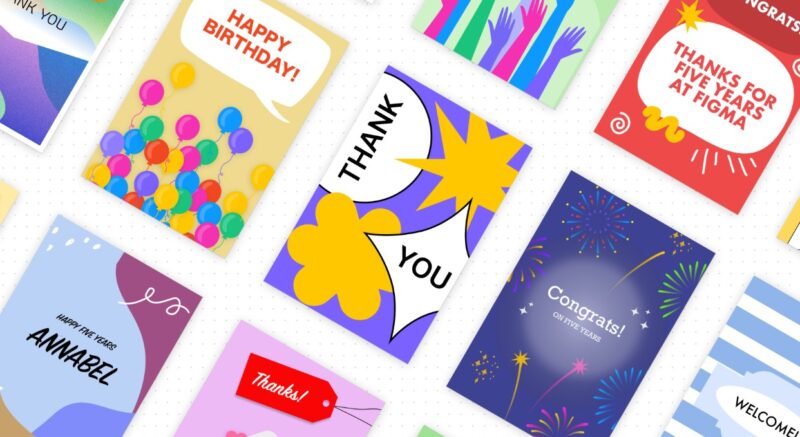
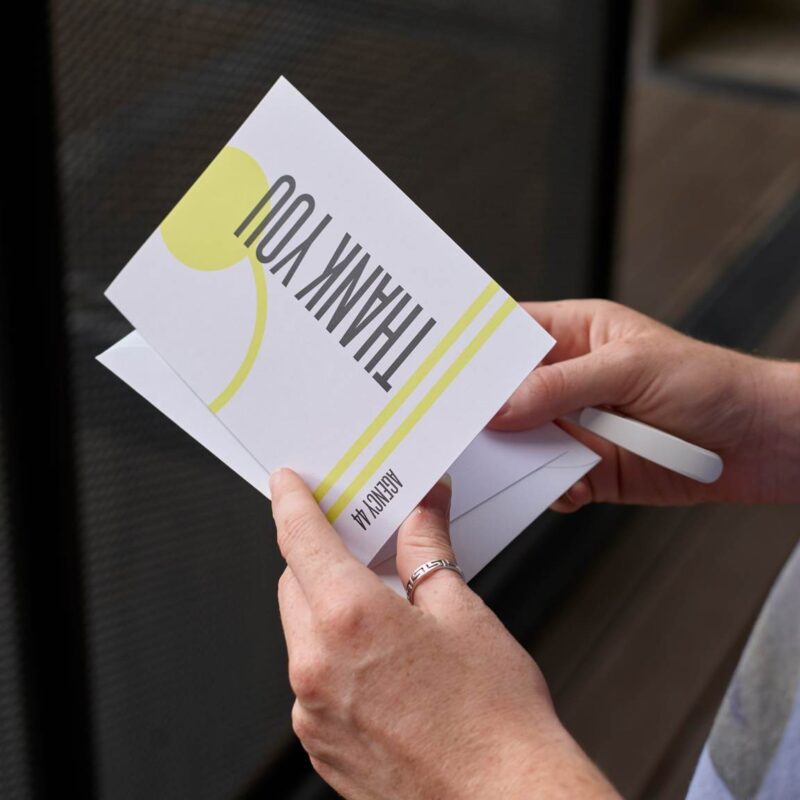
Greeting cards cover everything from birthdays and seasonal holidays to sympathy and dry humor. A professional portfolio works best when it centers on categories that reflect your strongest ideas.
You can select a mix, but clarity helps. Ask yourself where your natural strengths land. Many creators discover they have a talent for clean typography. Others lean toward watercolor illustrations. Some love short, heartfelt lines. Select categories that help those strengths shine.
Study Card Trends at Home
Instead of browsing endlessly, pick a small sample of cards you admire and examine them slowly. Pay attention to spacing, color choices, the relationship between text and illustration, and printing finishes like matte or gloss. You can learn a lot by holding real cards and observing how they feel in hand.
Set Up a Practical Workspace at Home
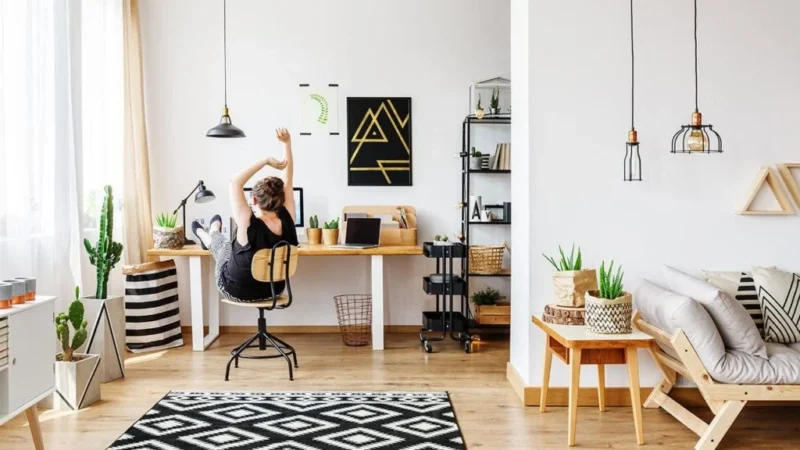
A portfolio rises in quality when your home setup supports it. You do not need a studio. You only need a consistent workflow.
Choose a Dedicated Surface
A dining table, small desk, or even a fold-out workbench can work. What matters is consistency. Keep pens, paper samples, and a small set of tools within reach. This saves time and builds momentum.
Gather Essential Tools
You can start with a basic set and expand when needed:
- Smooth cardstock in different weights
- Fine-line pens or digital stylus
- A small cutting mat and craft knife
- Printer with solid color accuracy
- Scanner or smartphone camera for capturing sketches
- Color swatches or printed palettes
Each tool supports a different part of your workflow. A cutting mat keeps edges clean. A reliable printer helps you judge how colors shift on paper. A scanner preserves line quality for digital editing.
Build a Color Reference System
Many greeting card creators rely on a simple color library. Keep a ring-bound set of swatches or printed sheets that show your preferred hues. Print colors often look different from digital previews. A physical set helps maintain consistency across your portfolio.
Craft Your First Set of Card Concepts
A portfolio thrives when it contains a curated mix of ideas. Start small. Aim for five to eight cards in your first batch, then expand.
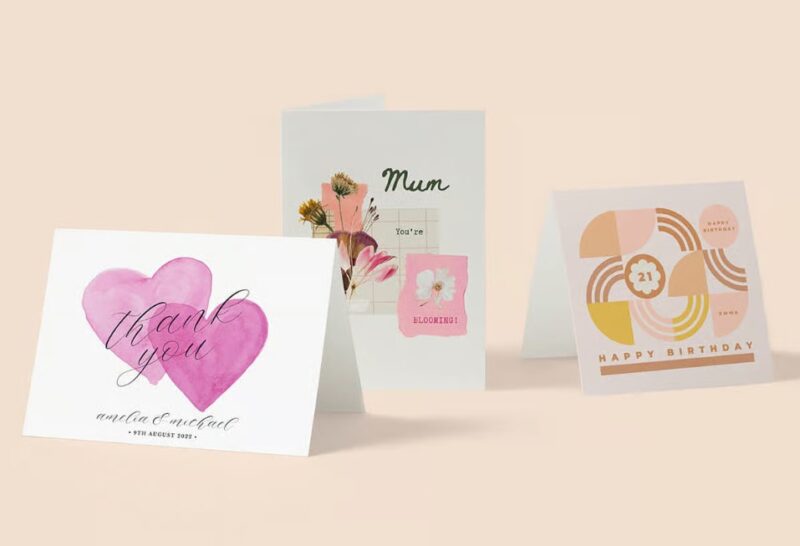
Develop Cohesive Themes
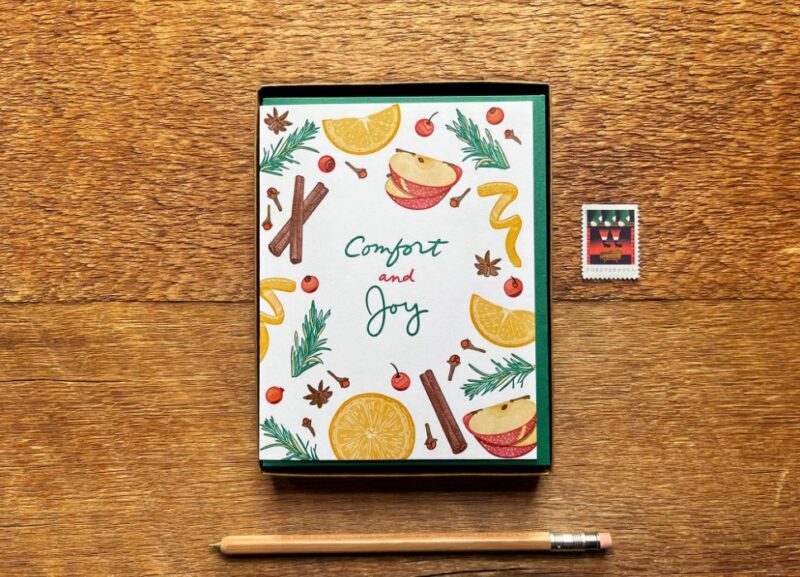
Themes anchor your collection. They give your work a recognizable style. You can pick soft botanical illustrations, geometric shapes, handwritten lettering, or vintage-inspired collage. The theme should appear across multiple cards, creating a family of designs.
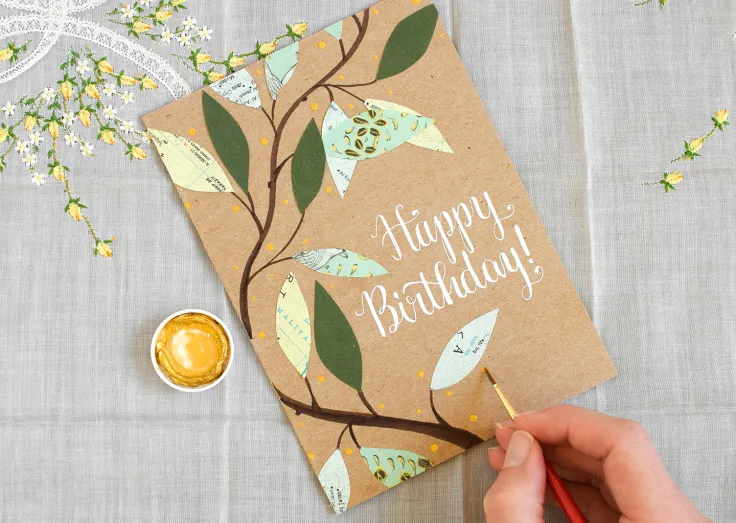
Sketch Before Designing Final Versions
Professional designers often sketch several rough versions before choosing one path. Quick sketches reveal spacing problems and help refine your layout. Try small thumbnail drawings. They save time and guide your final decisions.
Pair Text and Illustration Thoughtfully
The most effective cards show balance. A short phrase paired with clean linework creates a strong impact. Many designers draft the message first, then build the illustration around it. Others sketch visuals first and add text after. Pick the order that feels natural.
Explore Techniques That Elevate Your Cards
Small creative decisions create a polished final look. Experiment with variation to build depth in your portfolio.
Experiment With Different Layout Approaches
Try vertical formats, square cards, and horizontal spreads. Each shape supports different designs. A tall card often enhances floral elements. A square card strengthens symmetrical layouts.
Mix Hand-Drawn Elements and Digital Editing
You can sketch in pencil, ink the lines, then scan the image and refine it digitally. Many greeting card artists mix analog warmth with digital precision. Layering textures or adding small highlights brings life to the design.
Print, Test, and Adjust Your Designs
Printing is where many greeting cards succeed or fall short. Early test prints take time, but they pay off.
Optimize Your Print Settings
Use high-quality print settings and choose paper that matches your preferred weight. A heavier cardstock often gives a professional feel. Try printing samples on several types. You will see instantly which one matches your intended tone.
Evaluate the Physical Result
Hold the printed card under natural light. Check color saturation, crispness, and alignment. Observe whether small details disappear or overwhelm the design. A good portfolio reflects your ability to refine.
Make Slow, Accurate Adjustments
Change one detail at a time. It keeps your workflow organized and helps you see which modification produced each improvement.
Personal tip: write small notes on the back of test prints. Record settings like paper weight, color adjustments, and layout changes. It becomes a valuable reference as you add more cards.
Photograph and Digitize Your Cards for the Portfolio
A digital presentation is essential, even if you plan to show physical samples. Most publishers and clients expect clean digital images.
Capture Clean Photographs
Natural light from a window works best. A white foam board or neutral background keeps attention on the card. Photograph both the outside and inside. Keep angles simple. A slight top-down shot is usually effective.
Retouch Without Changing the Design
Small color corrections help match the real product, but avoid altering the artwork. Clients want authenticity. Remove shadows, adjust exposure, and straighten edges.
Final Thoughts
A professional greeting card portfolio reflects your voice, your technique, and your ability to shape thoughtful design. You can build every part of it at home with patience, a few practical tools, and a clear structure.
Collect your best ideas, refine them slowly, create consistent themes, and present your work cleanly. With a bit of focus and a steady workflow, your portfolio becomes something you can send to shops, publishers, or clients with pride.